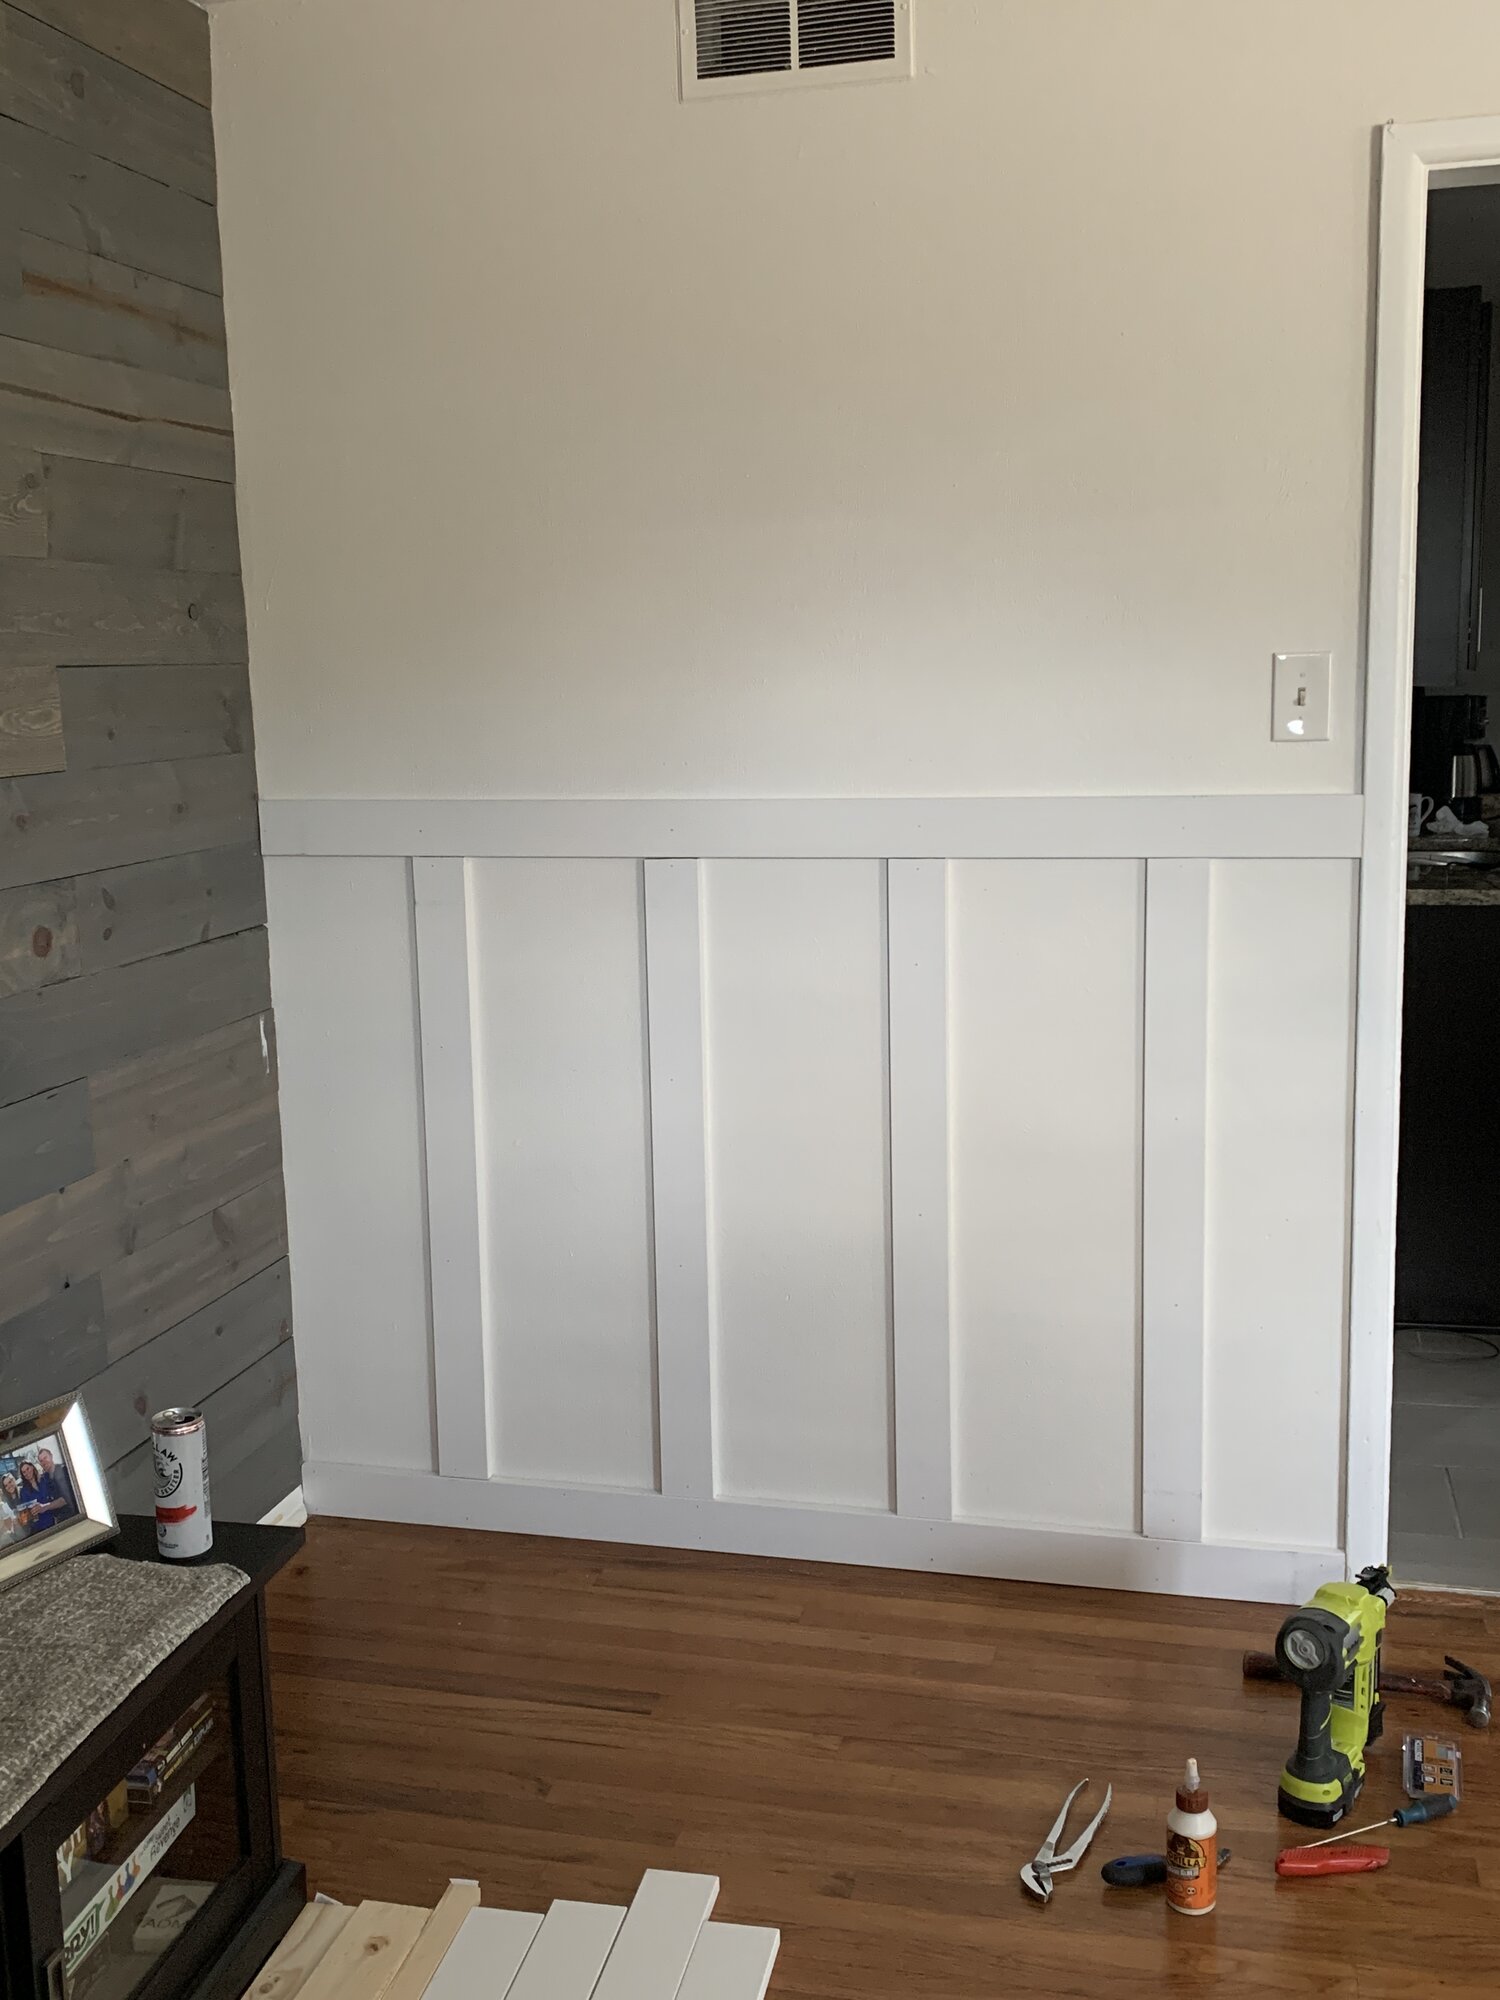
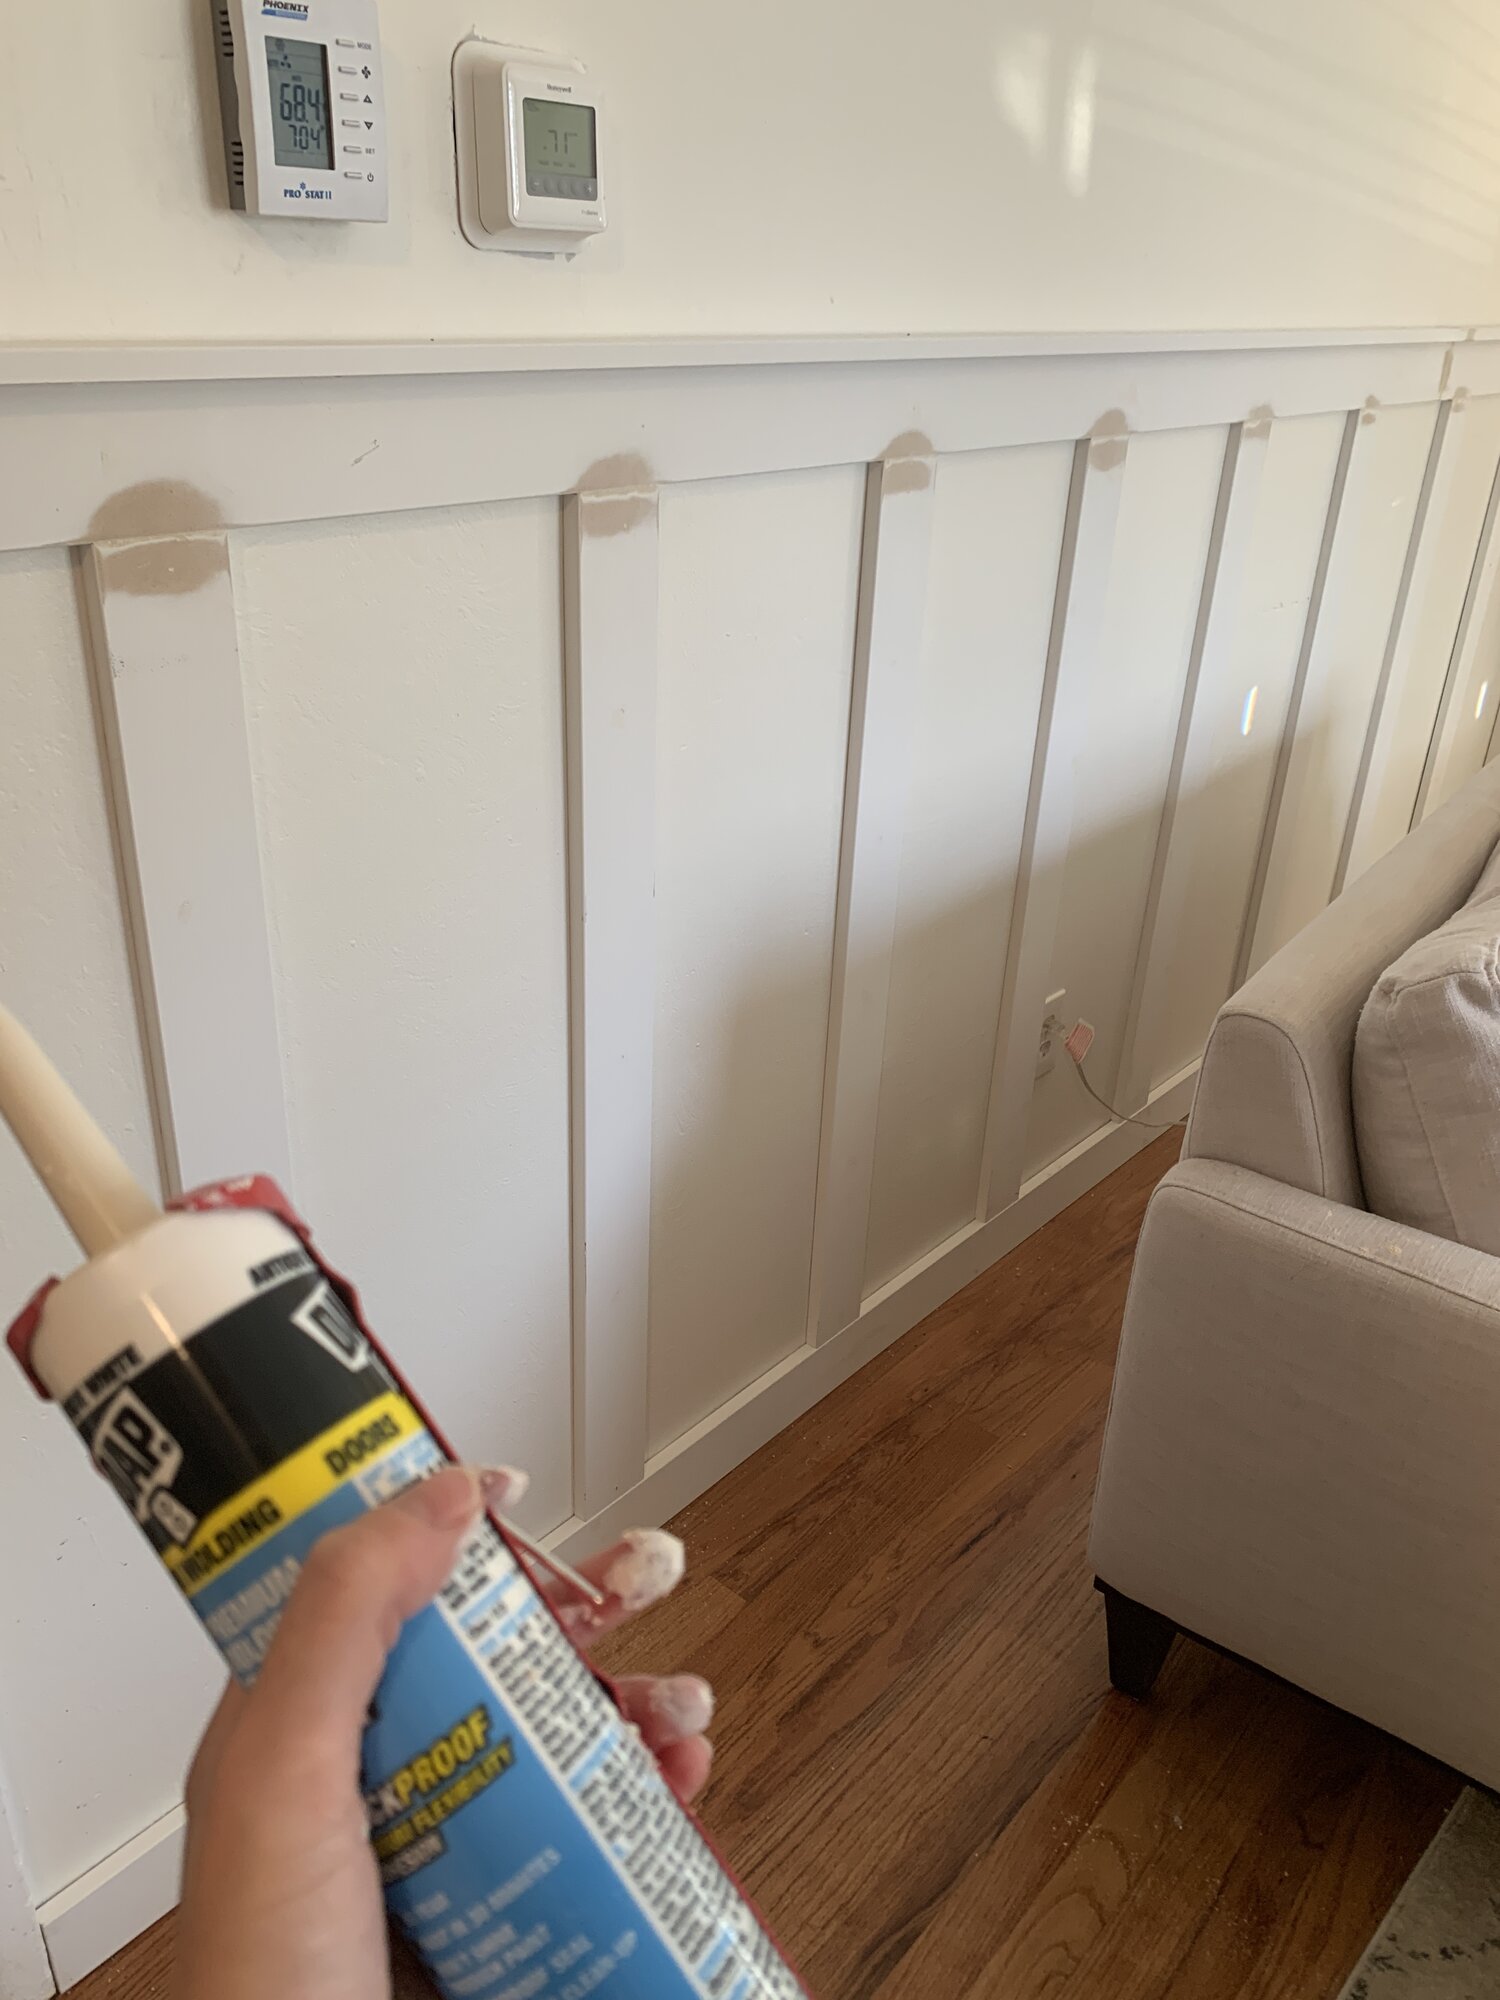
I was looking for something simple to update and class up the look of my living room. I wanted the colors to stay light and bright.
I had been wanting to install board and batten for a long time in my home. I was sad to realize that the walls in my home are textured so I wasn’t sure how it would turn out. I wasn’t wanting to go all the way and use a board to back the design and cover the textured walls. I saw a friend who had done this on their textured walls and it looked great so I decided to give it a go!
Materials:
MDF Primed White 1” x 3.5” x 8’ boards
MDF Primed White 1” x 2” x 8’ boards
Nail Gun
18 Gauge brad nails 1.5”
Gorilla Wood Glue
Circular Saw (Miter Saw would be better)
Level
Measuring Tape
Stud Finder
Total Cost of Project = $315.00
You can definitely do this project for less by using strips of pine or another type of wood instead, or even a sheet of plywood and cutting down your own strips. Pre-primed MDF was a more expensive choice!
- Determine the height of the board and batten you would like in your room.
- Remove your baseboard with hammer, screw driver, whatever will help pry it off without damaging the walls
- Replace your baseboard with new 1”x3.5” trim. Be sure to add some wood glue to the back so it adheres to the wall and use your nail gun to attach trim. Try to put nails into the studs. Do this around the entire room or just on the walls you’re adding the board and batten if not everywhere.
- Subtract the width of the baseboards and the top horizontal 1”x3.5” and cut a number of pieces to the same height to make your vertical pieces.
- Decide how much space you’d like between your vertical pieces. I would also recommend trying to line this up with as many studs as you can so they are secure. Mine ended up being 11.75” between pieces. Also be sure to check for outlets or light switches that may be in the way of where you’d like to put vertical boards. I recommend taping them all out or marking them some how so you make sure you won’t run into any obstacles along the way.
- Begin installing your vertical pieces. Add wood glue to the back, try to attach to a stud with your nail gun and make sure the pieces are level.
- Once your vertical pieces are installed, it’s time to add the horizontal 1”x3.5” piece across the top around the room. Again, use wood glue and try to nail into the studs. Be sure this piece is level. If there are any gaps between the horizontal piece and the vertical pieces, you can fill that with wood filler and sand or caulk so you’ll have a seamless look when you’re finished.
- Once finished placing horizontal top 1”x3.5” piece, add the 1”x2” piece on top to create a small ledge. Use wood glue to adhere and nail into place.
- Once all of your boards are in place, you’ll begin filling in any gaps or cracks. Use wood filler to fill in gaps on the face of the board and batten. Let the wood filler dry and sand smooth for a seamless look.
- Use caulk to fill in gaps between the board and the walls.
- If you didn’t use pre-primed boards, add a coat of primer to wall and boards.
- Add at least 2 coats of paint – I used Behr’s Polar Bear and loved how crisp and fresh it made my room feel. Adding a color to the board and batten can be a great way to add some more personality to your room.


