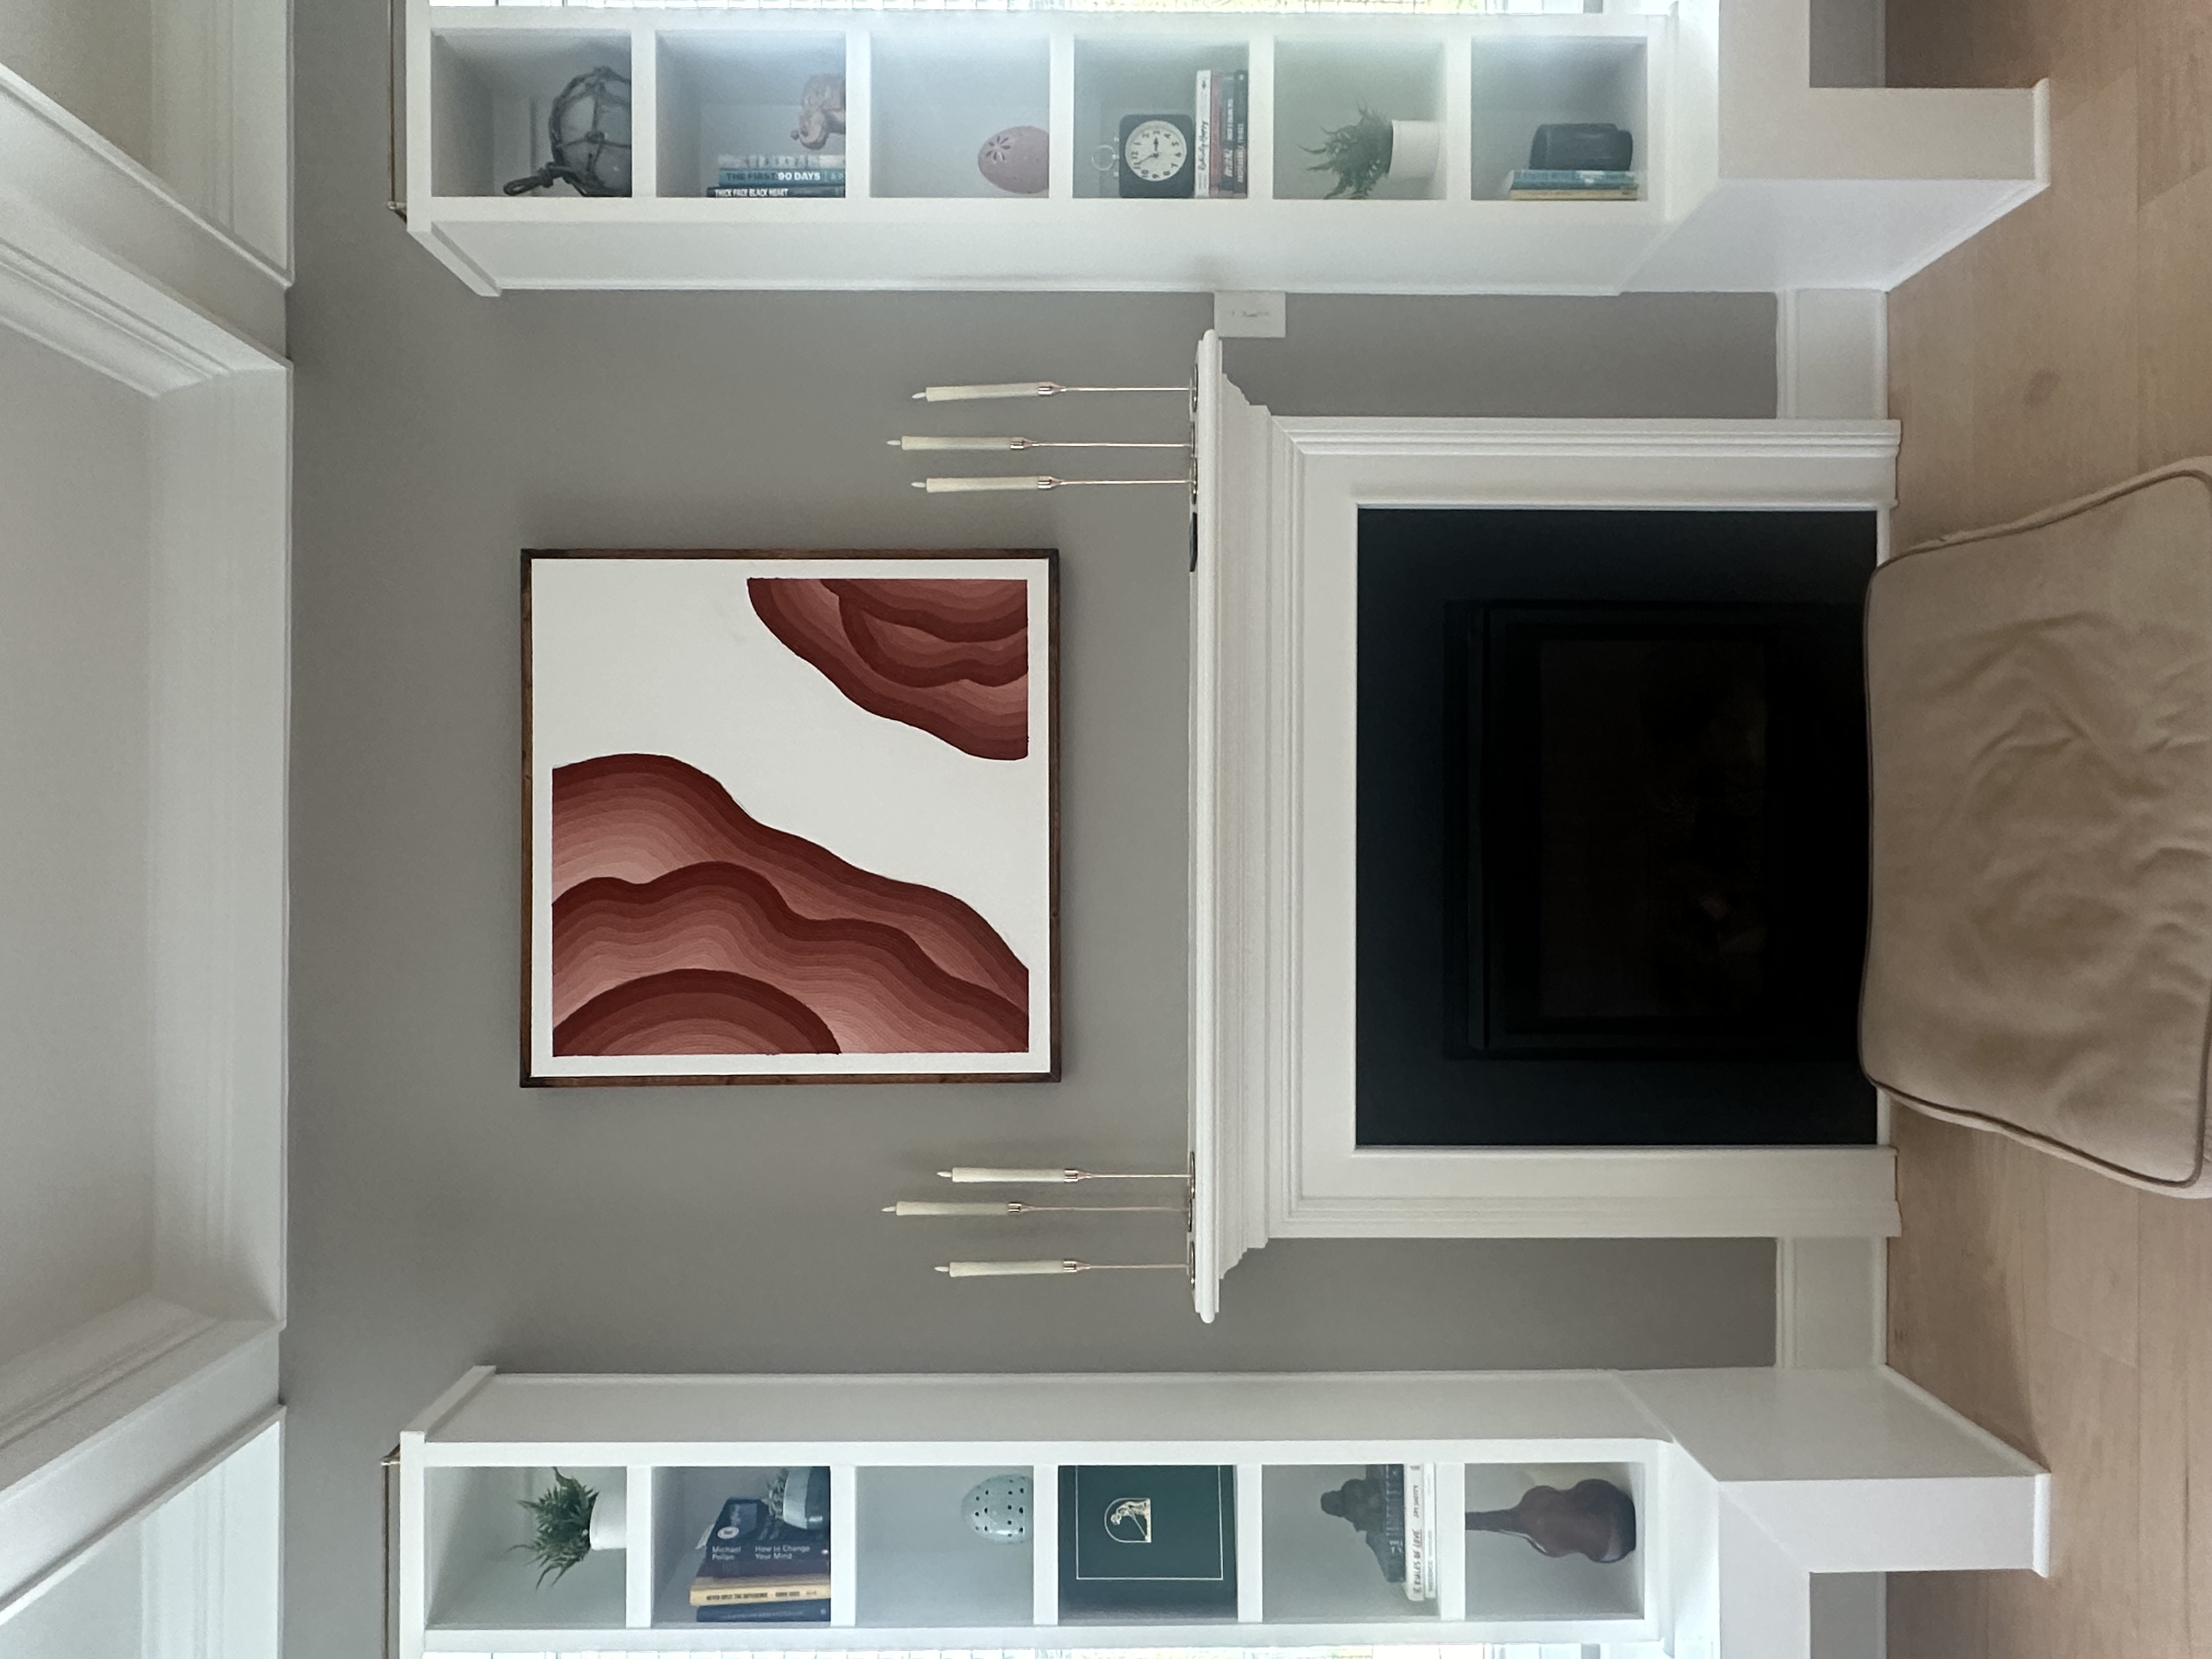
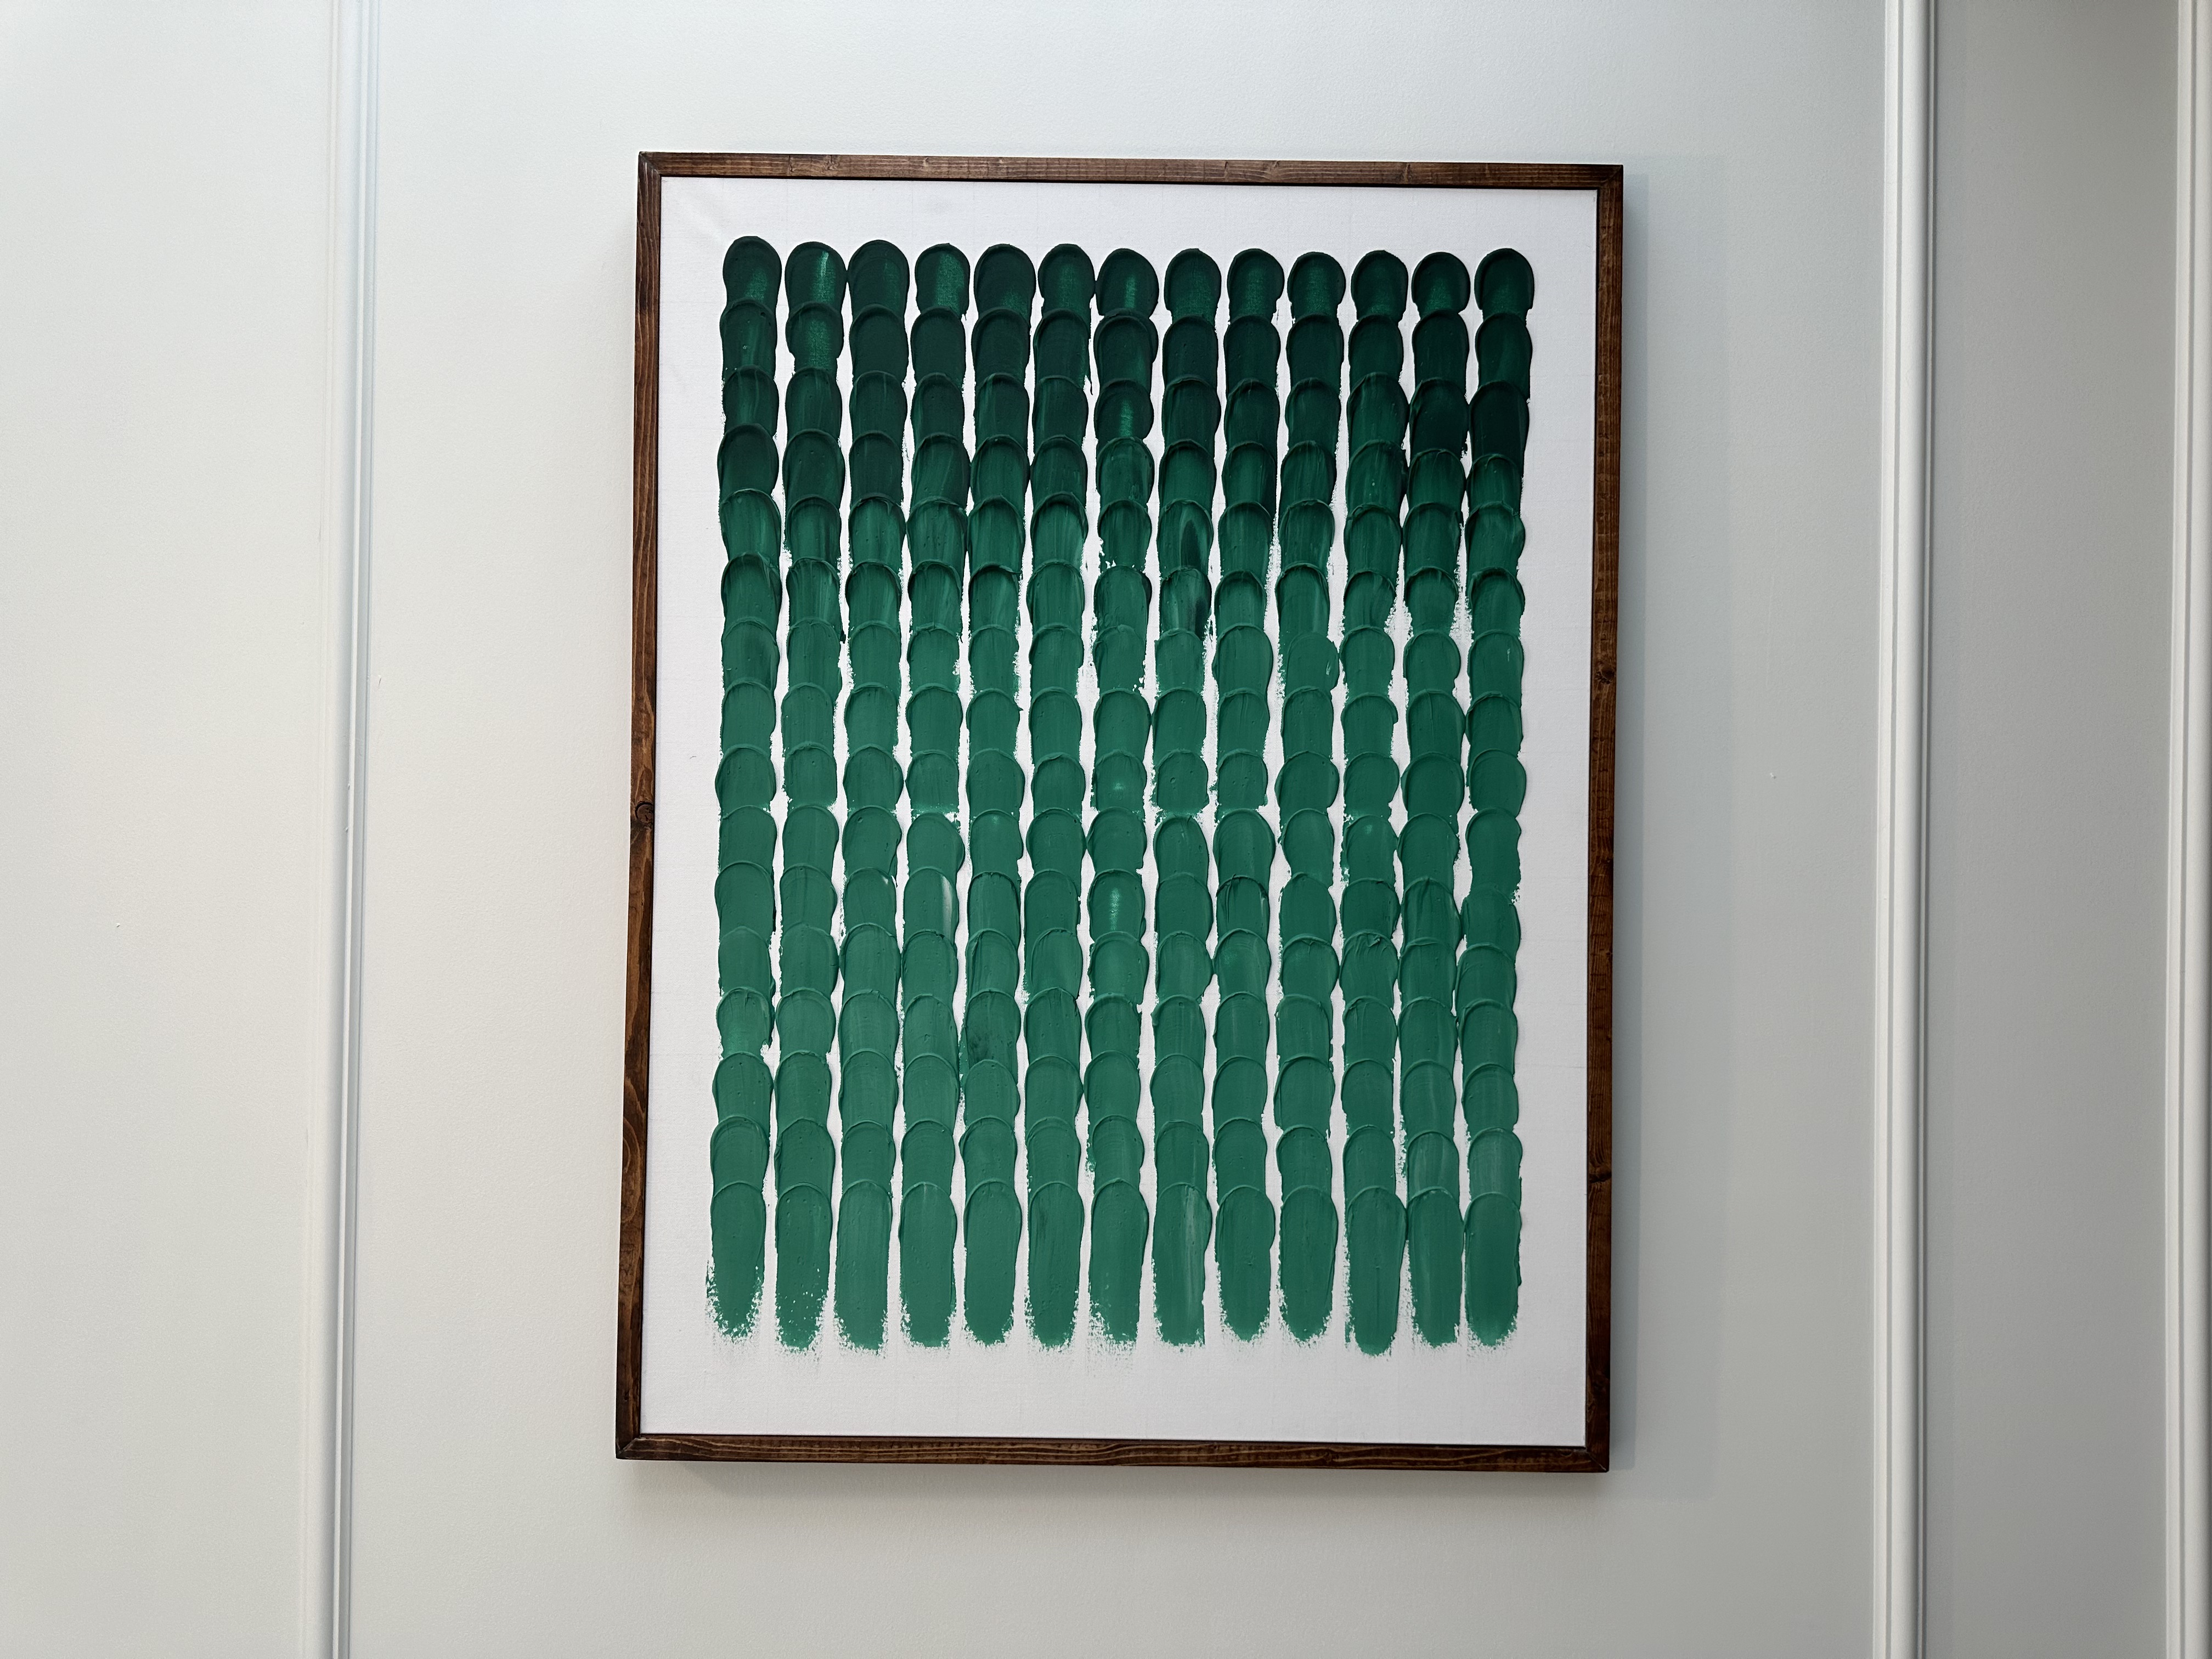
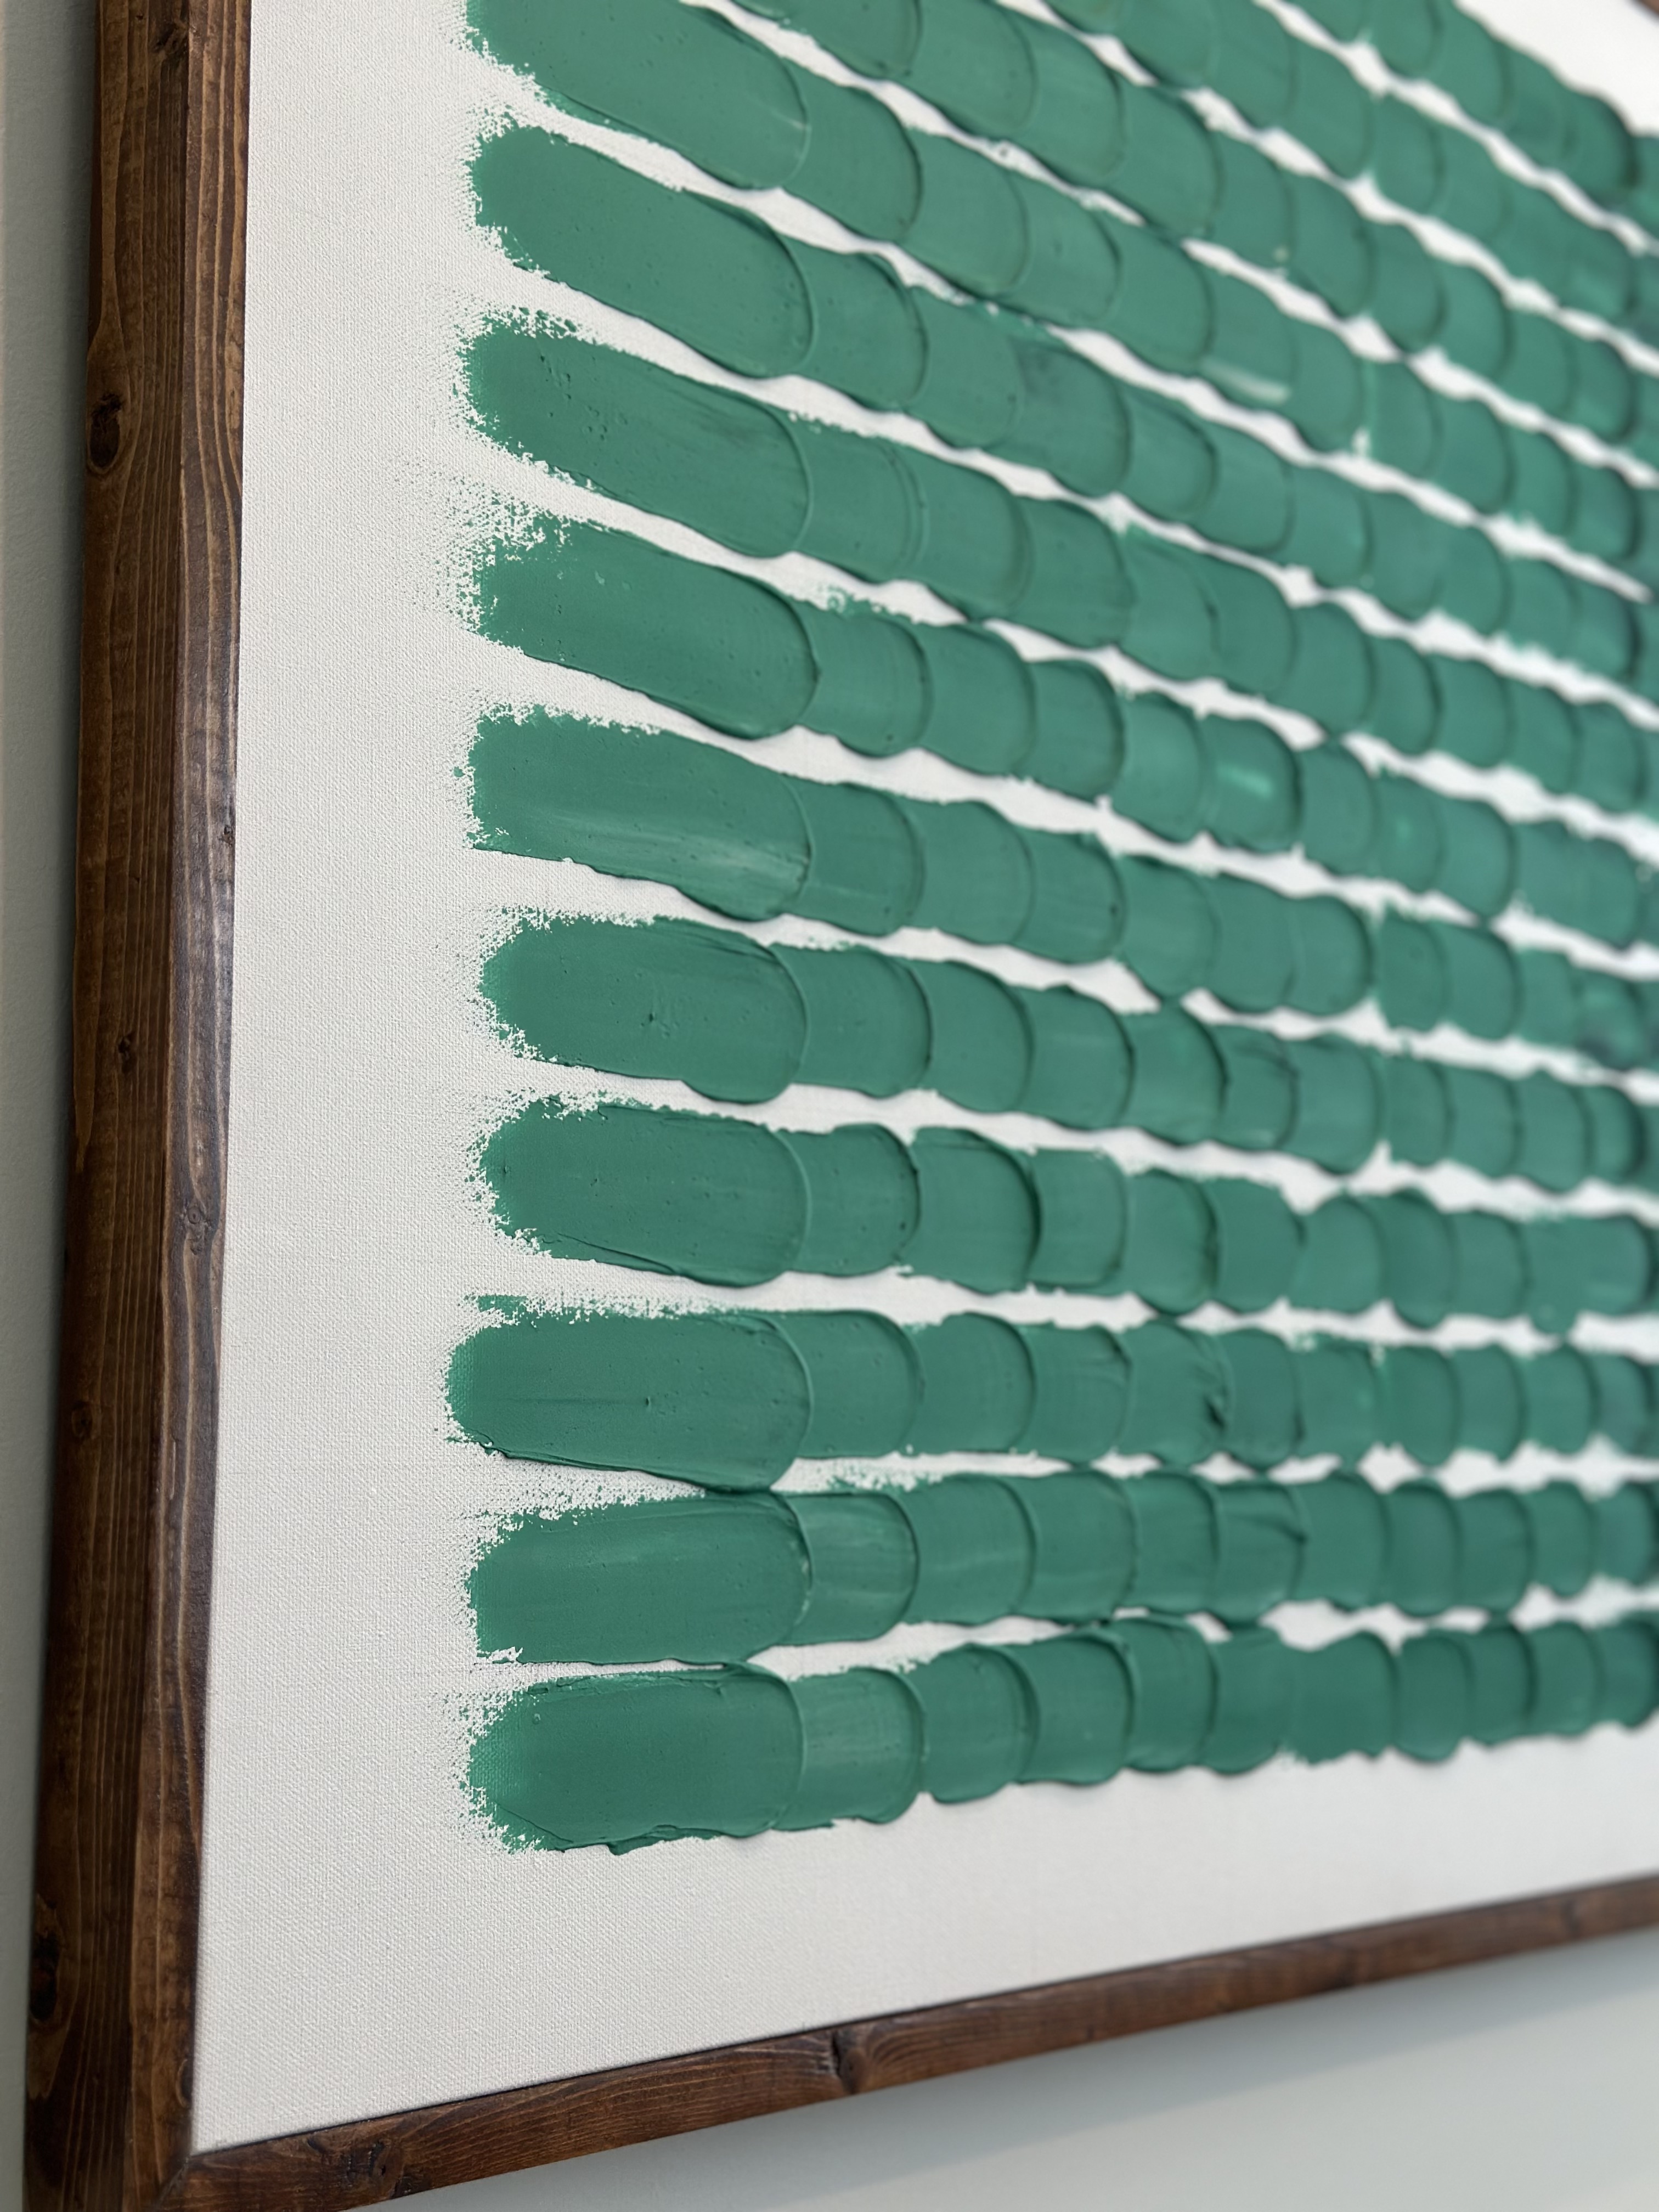
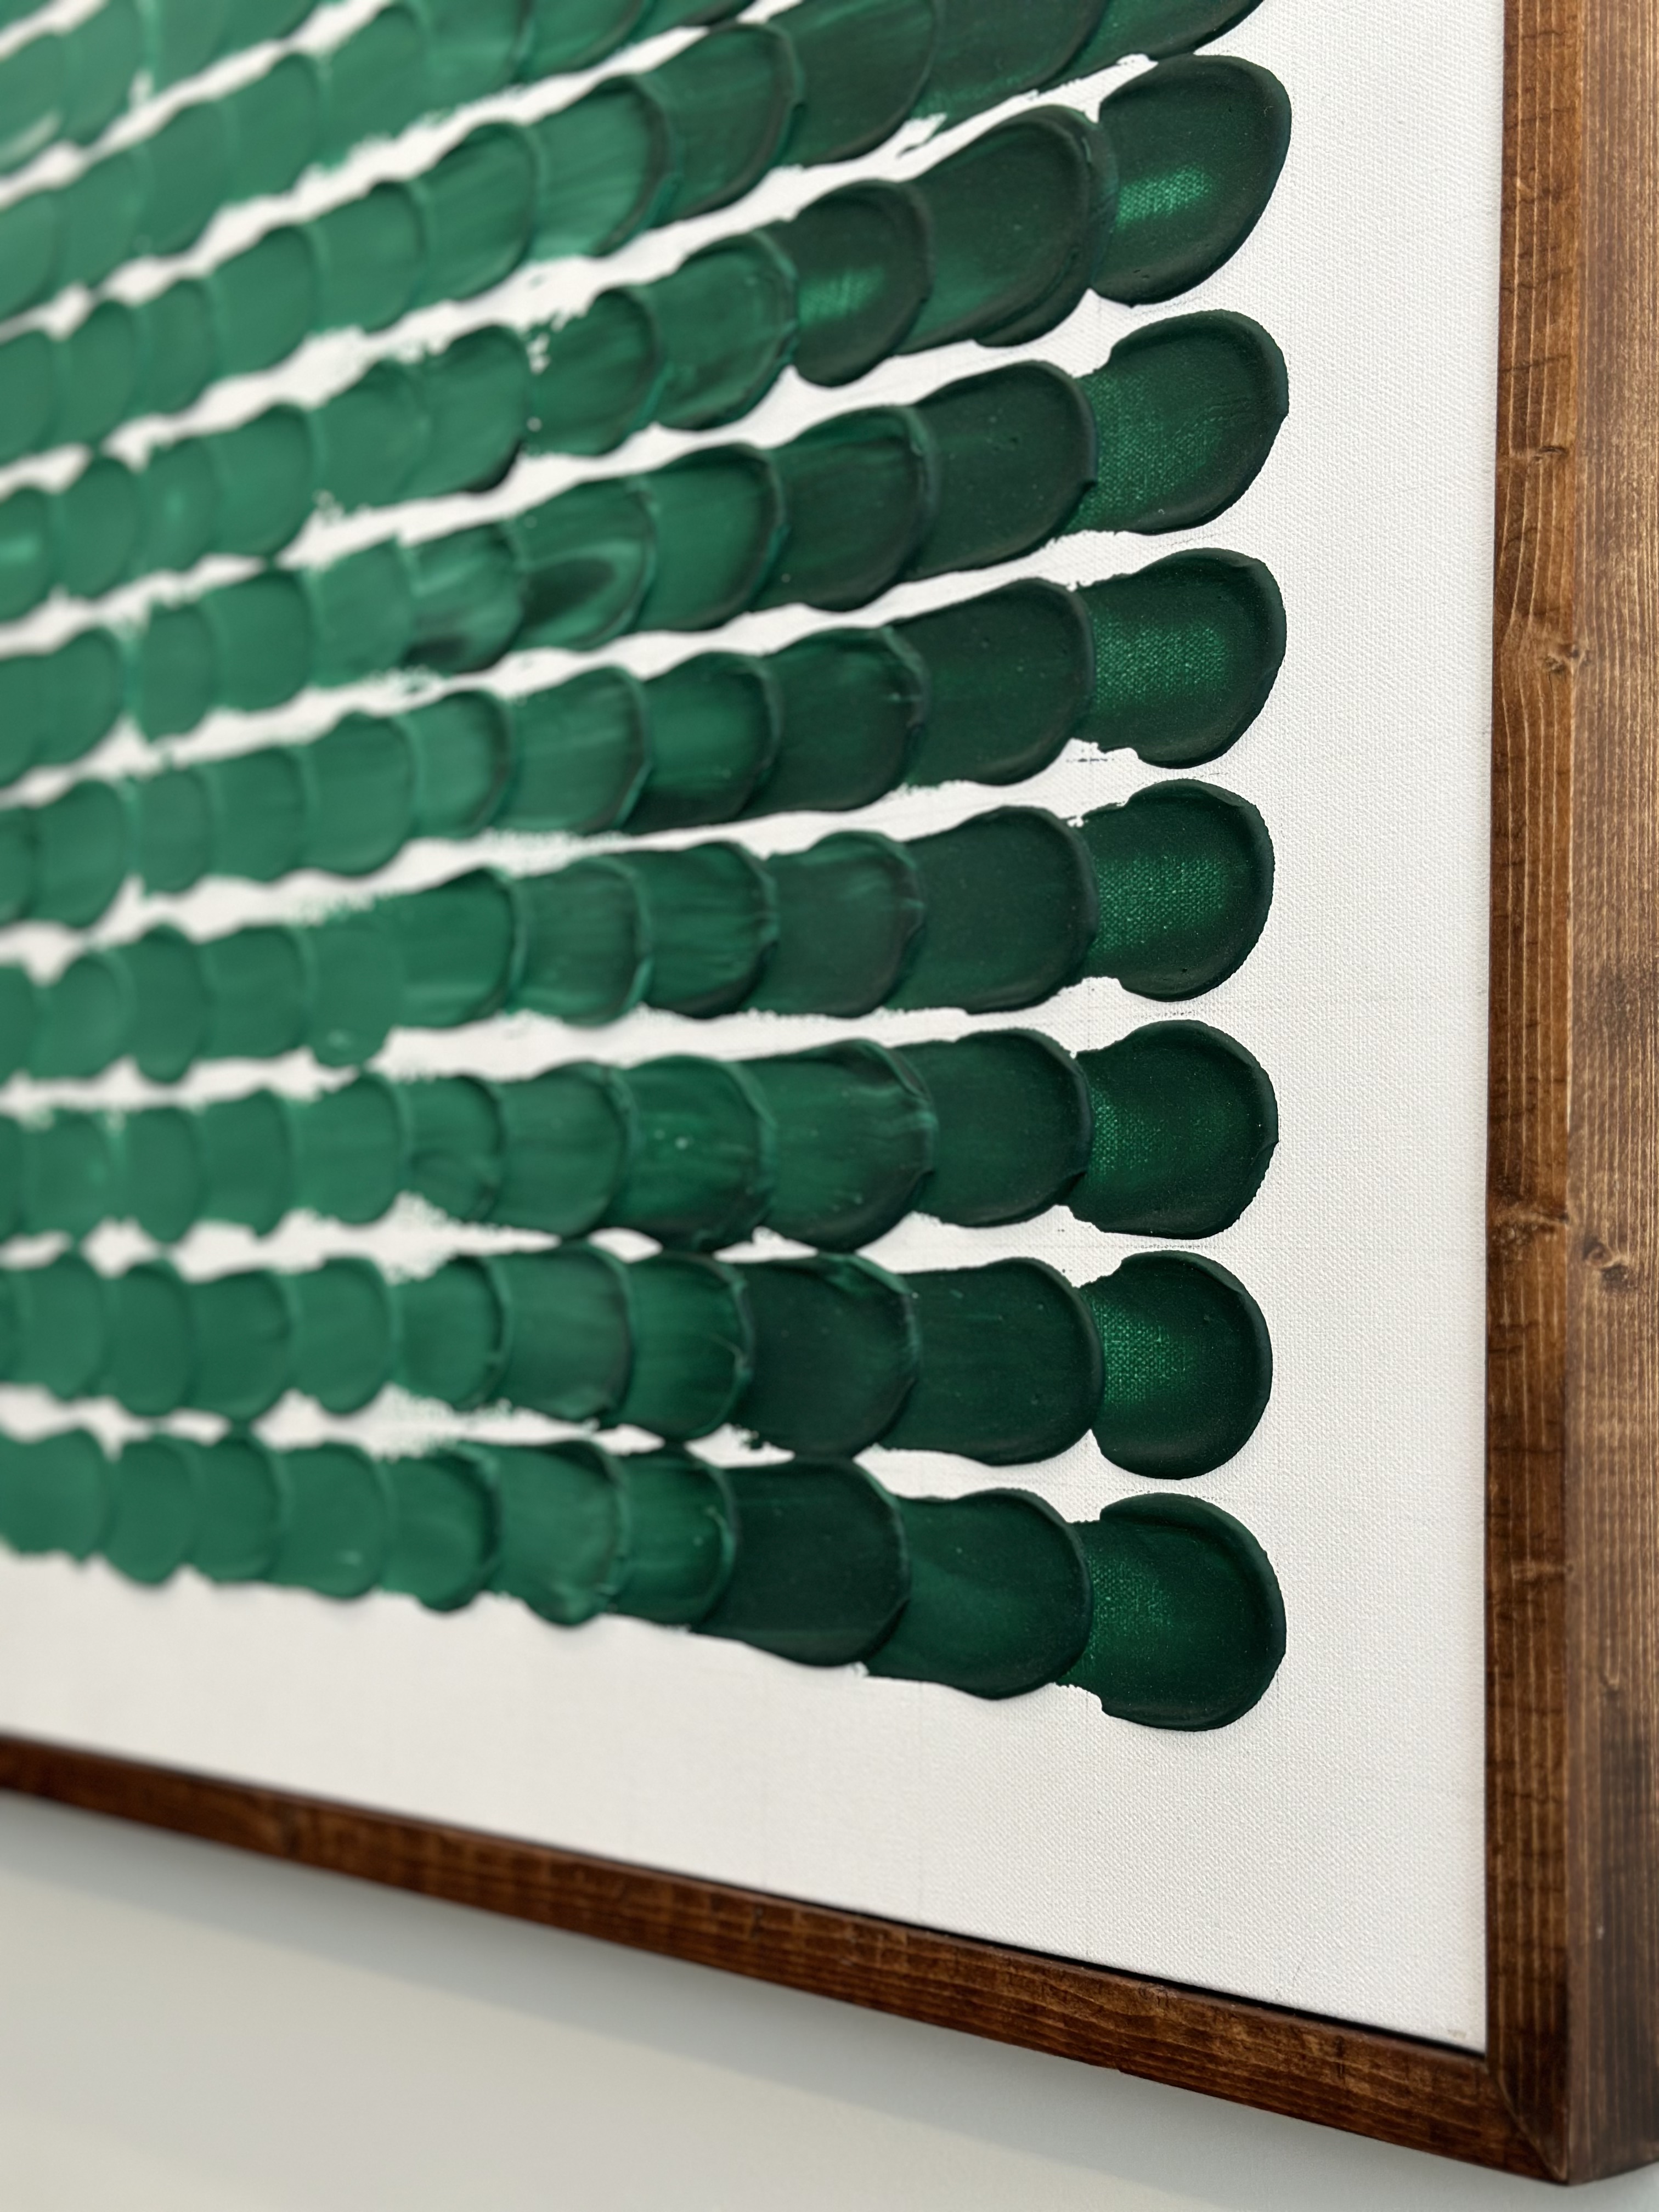
We made 3 pieces of framed art for our dining room last year and we love how they turned out! Textured, simple, but big impact. We decided to do something similar above the fireplace but to add some color this time around. I gave Ryan all creative control and he got to work. I think this is a fantastic beginner project – there are no rules when it comes to the design of the artwork so you can’t mess up! Truly, you can just spread more joint compound on and restart. The frames are great practice for mitered cuts, sanding, and staining. We (I) took our sweet time with this project but I think if you were super focused on it, you could easily create one of these over a weekend!
Supplies:
Trowel(s) to apply material
Clay Scraper Set to make patterns
Wood for Frame
Nail Gun and nails
Process
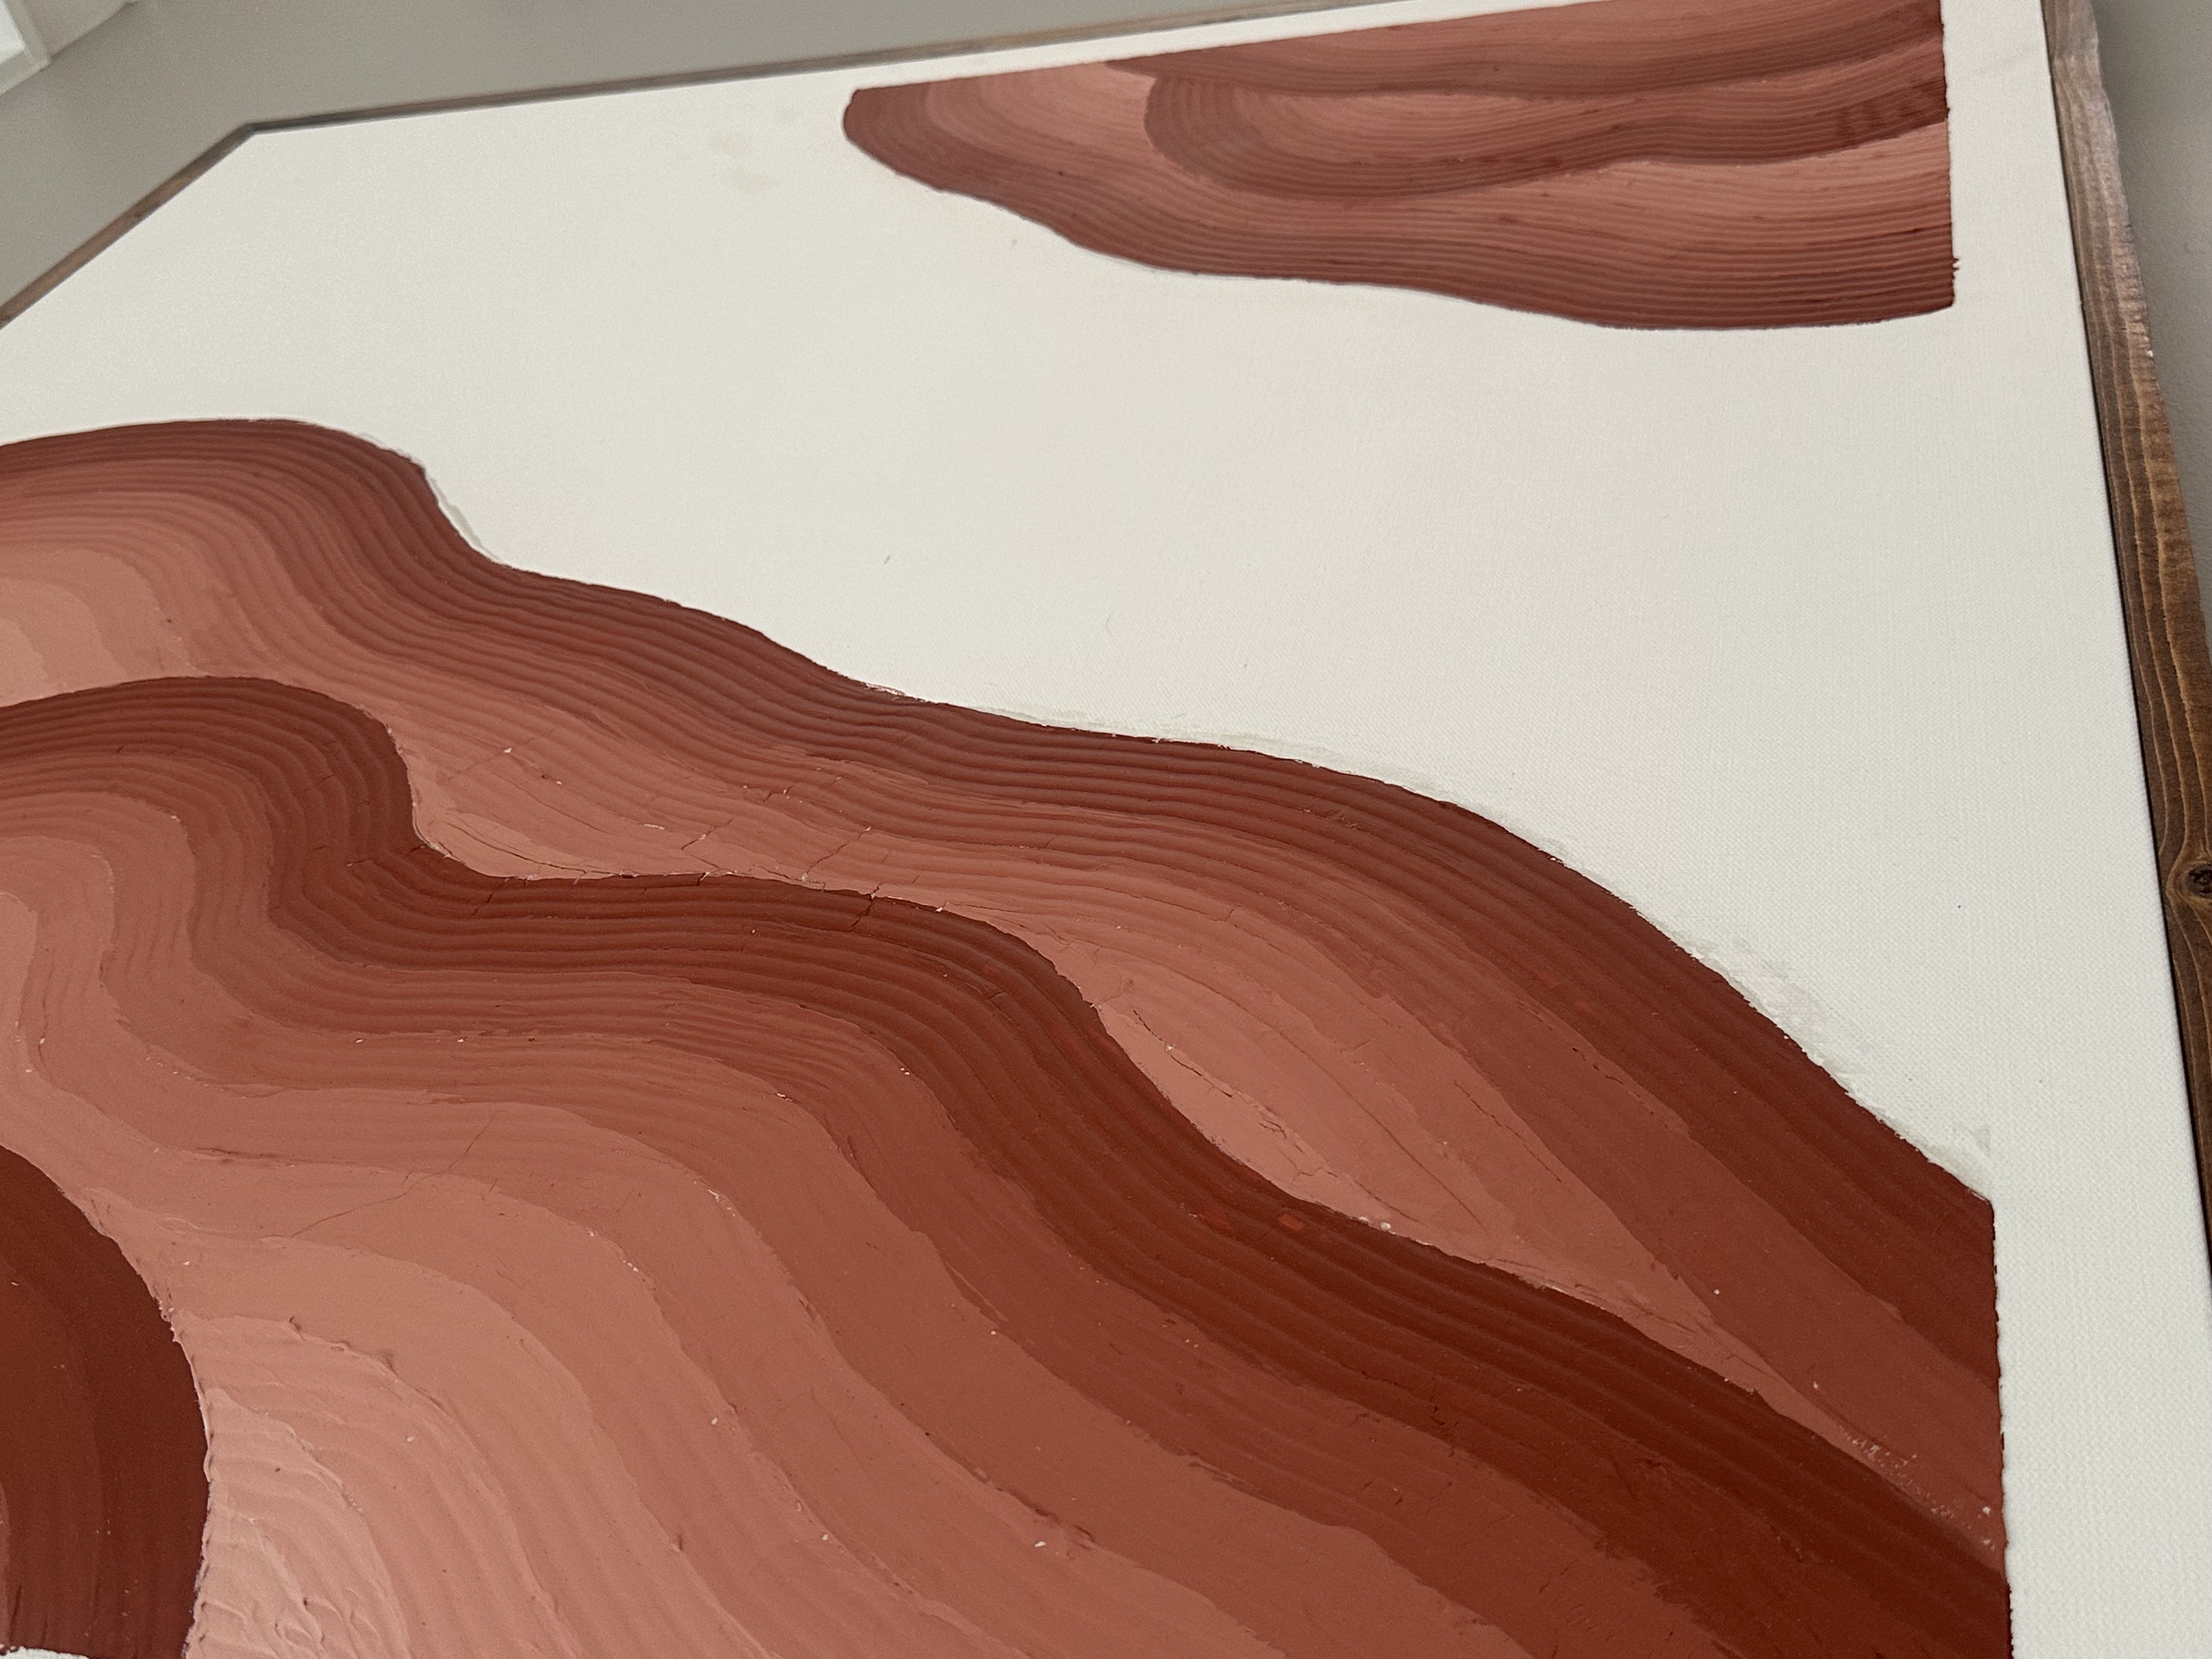
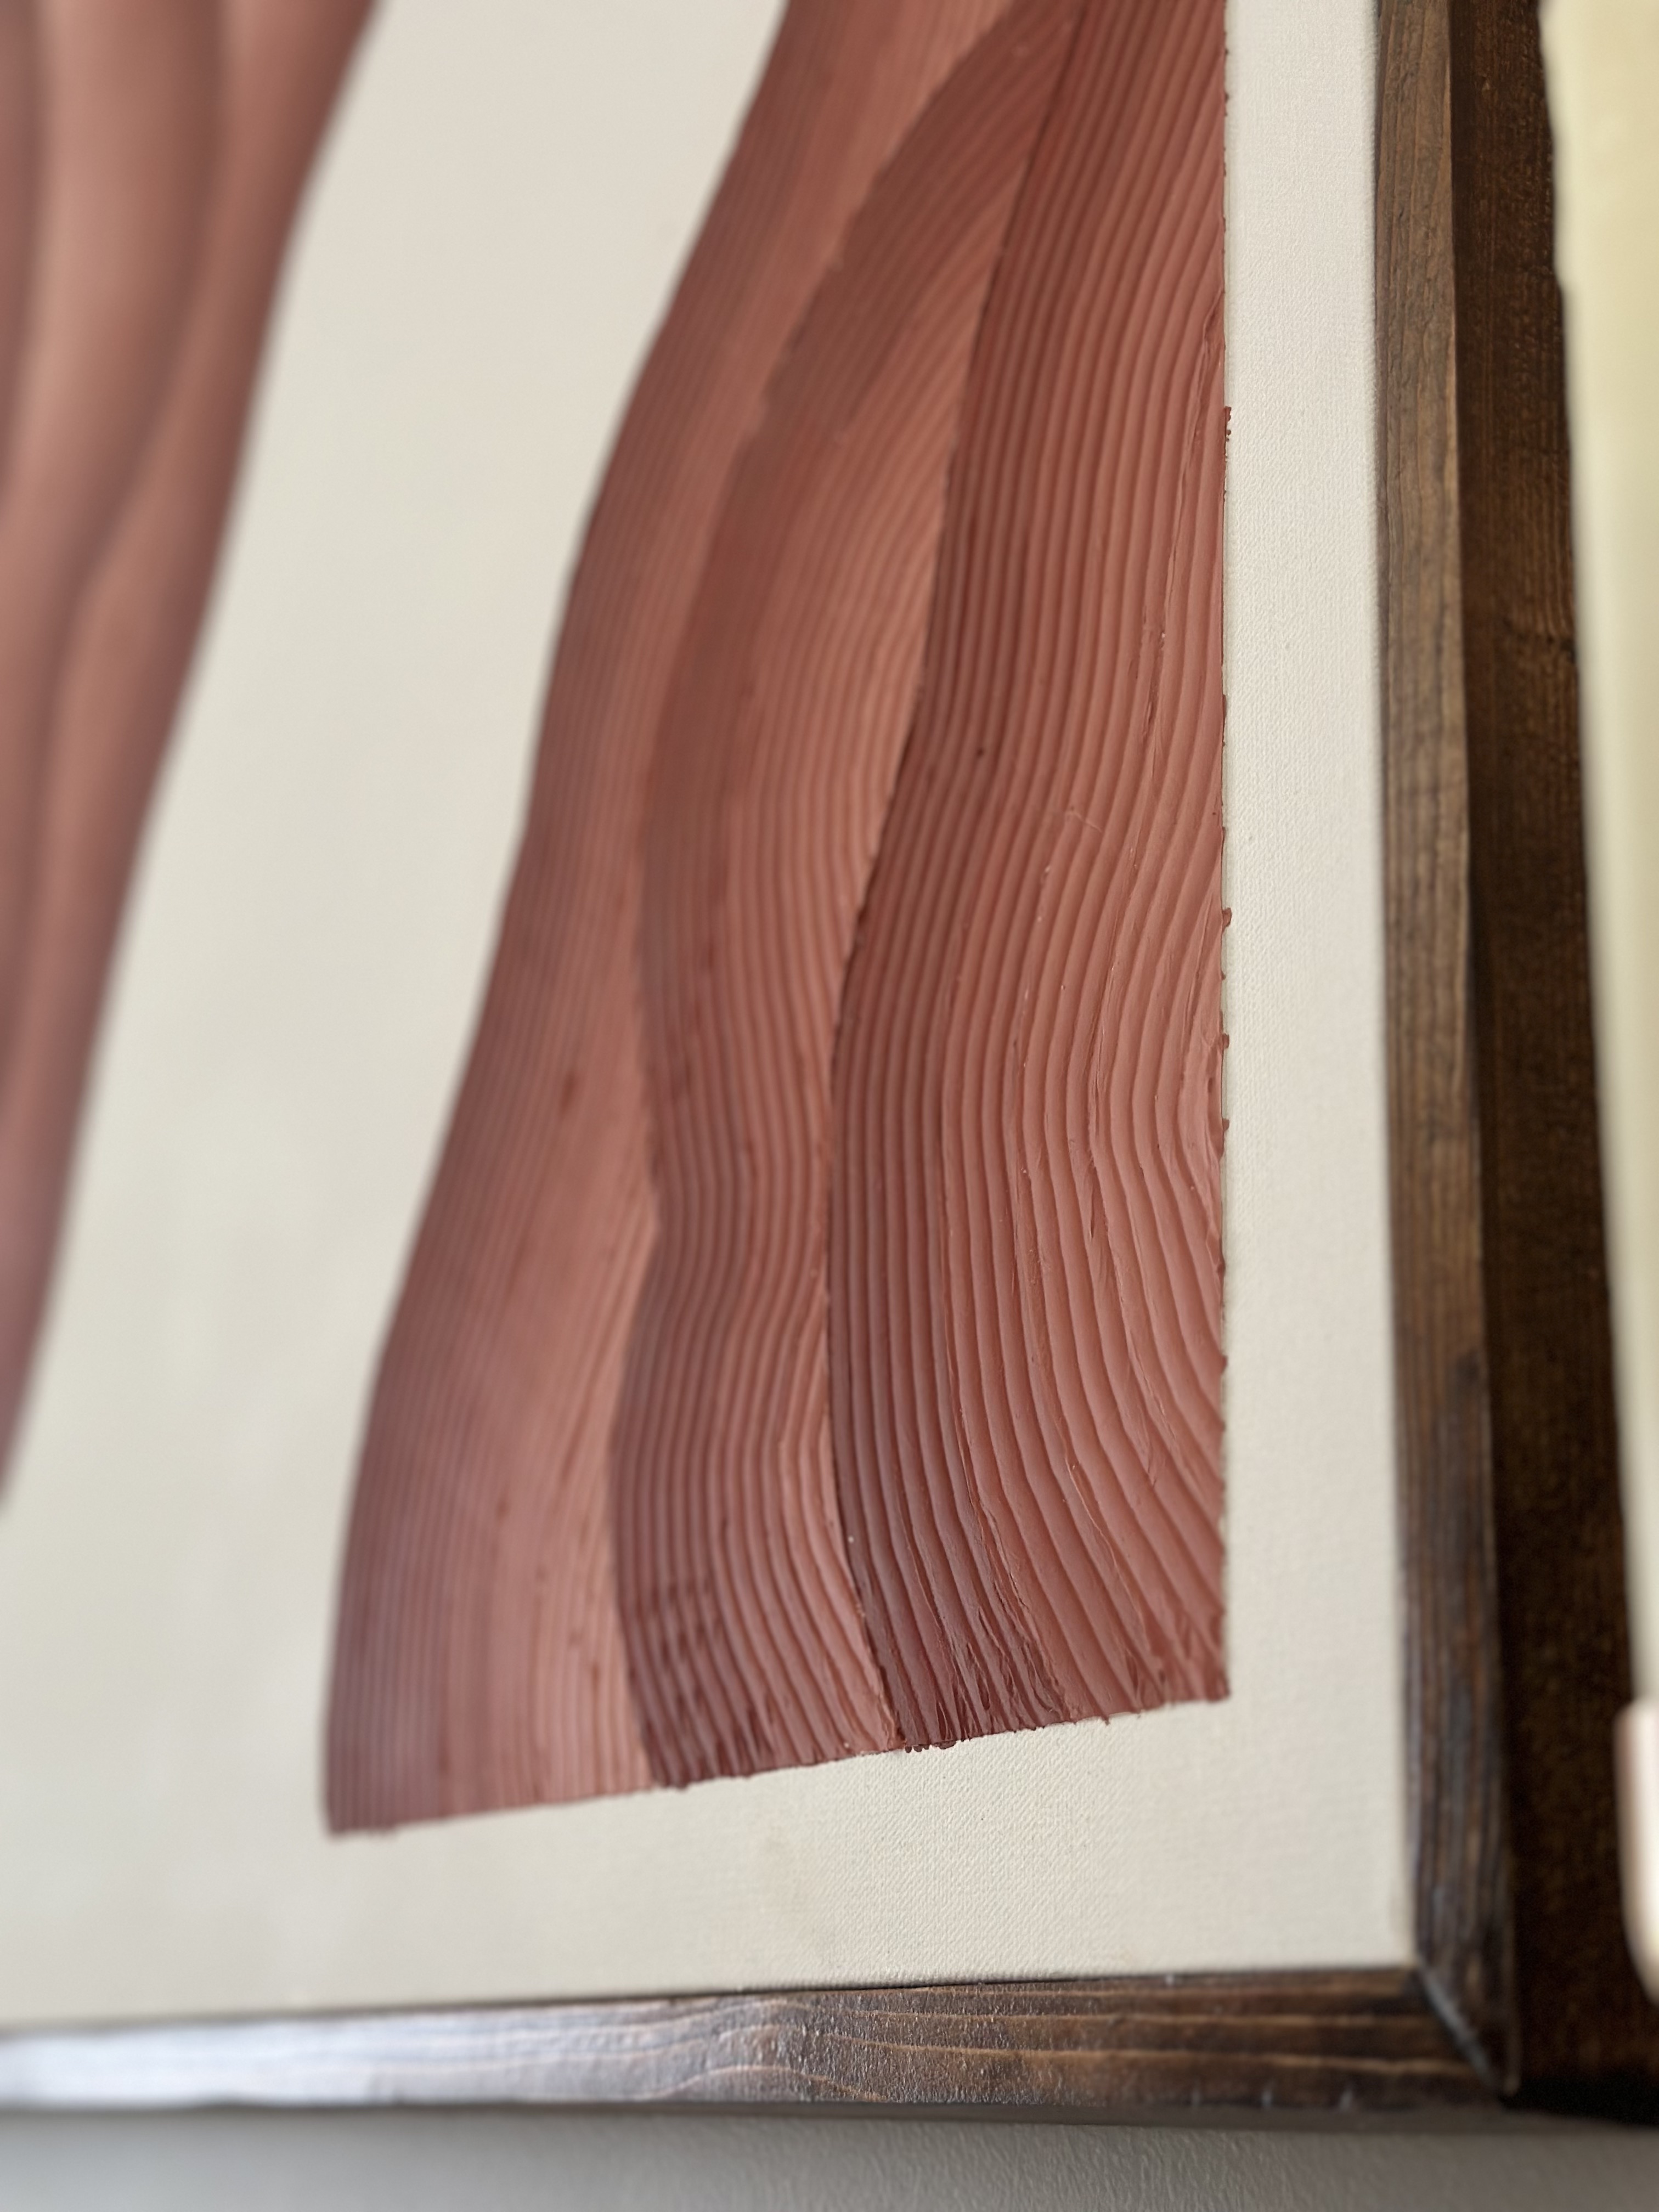
Ryan started by creating the textured “waves” on the canvas with joint compound first. He scooped some on the trowel and spread it evenly over the space on the canvas he wanted to add texture. I’d recommend at least 0.25” of material on there, so you get complete coverage and have room for the grooves without scraping the canvas underneath. He then went back with a grooved clay scraping trowel and made the design. He also left a white border around the canvas by placing painter’s tape around the edge to keep it clean – I really like how it turned out!
You can cover the entire canvas with joint compound like we did the first time around, or leave some of the blank canvas showing like Ryan did this time around. I think leaving some space makes the texture pop even more.
Let it dry for as long as the instructions on your product say.
Once the joint compound is dry, he hand sanded down the ridges made by the trowel so they were smoother. He used a fine 220 grit sandpaper. This also helps get rid of any air bubbles or broken off bits and makes it look more uniform.
He painted over it with acrylic paint from Michael’s and let that dry for a number of hours.
Ryan sealed it with Krylon Gallery Series UV-Resistant Matte Spray Paint. This will help keep the integrity of the paint.
Then I started cutting 1×2’s at 45 degree angles to create the frame. I simply cut a piece for each side length and used a pre-stain wood conditioner to start.
Then I went back with 2 coats of stain and let those dry the recommended amount of time (usually 2 hours).
I glued and nailed the pieces straight into the side of the canvas, creating a tight fit. I used a little wood filler to make the corners perfect and sanded those down.
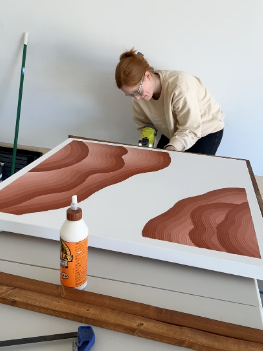
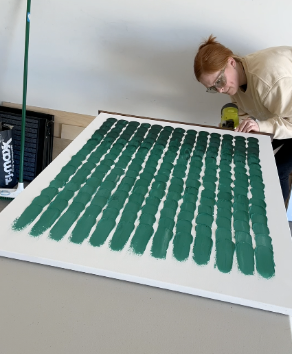
I reapplied stain to those places I sanded to make the coloring cohesive across the frame.
Then I used 2 coats of water-based polyurethane and applied it with a brush. I love water-based because it doesn’t smell as strongly as oil-based and it dries faster!
I did a light sanding after the first coat dried with 220 grit sandpaper, and then applied the second coat.
Once the second coat was dry, we added the hanging hardware which was made up of 2 hooks and some wire. We put a nail centered above the fireplace and hung it!
I love the square shape and the texture and the color! I stray away from reds typically but I’m so glad Ryan chose this terracotta color to bring some warmth into our home! And we all know I love a good green. The piece in our bedroom compliments the blues and greens in there so well!
Results
